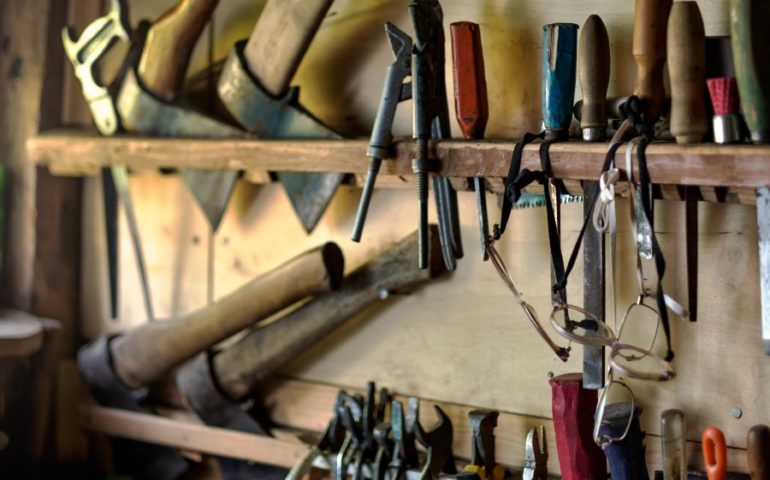
There are few things more frustrating than finding out you don’t have the right tools to do the job.
That’s certainly true when it comes to building your own garden shed.
Once you have chosen your plan, secured any necessary permits and purchased your materials, you will want to consider what tools you will need.
While there are a variety of shed styles, the tools you are likely to need aren’t going to vary that much from one design to the next.
Some tools, like safety glasses, are essential to every build, while other tools, like a framing nailer, are optional, but make the job easier.
Preparation for the build
Think safety first with a pair of safety glasses or goggles, preferably fog proof. Also, make sure you have a first-aid kit on hand, in case of a minor mishap.
Get the right tools to lay solid foundations
Before you start putting your list of tools together, you’ll want to be sure you have a complete set of plans ready as well as a sturdy measuring tape, which you will use throughout the build. Be sure your measuring tape is of significant length to accommodate your shed’s design.
Foundation
The type of foundation you plan for your shed will determine what type of tools you need. However, here is a list of those you are most likely to use:
- Line Level – It’s important that you build on a level foundation. Using a line level, you can raise or lower the string until all the strings are level. Remove dirt or add gravel as necessary, to make a level site.
- Shovel, rake and wheelbarrow – These will come in handy as you clear the site. A rake and shovel can be used to level out the gravel for sheds that are on skids, while the wheelbarrow can be used to move in or haul away dirt or gravel.
- Stakes – You can use either wood or metal stakes to mark off the corners of your proposed shed. You can also run string from stake to stake.
- Hammer – This won’t be the only time you’ll need a hammer, but you’ll want one to pound the stakes down.
- Post Hole Digger – If your design calls for a pier or post foundation, you’ll want a post hole digger to drive in the posts.
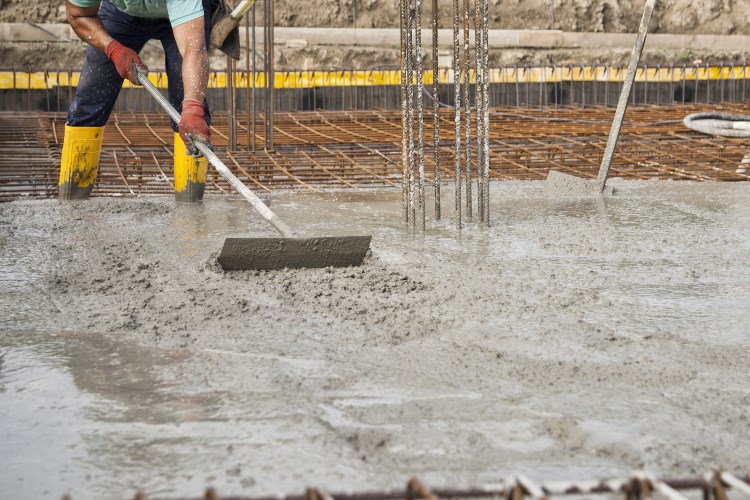
- Float and finishing trowel – Used to even up the wet concrete surface and make it firmer, floats can be made from a variety of materials. Professionals generally prefer those made of magnesium. You can use a finishing trowel or concrete edger for putting the finishing touches on the concrete foundation.
Framing
Once you’ve got your foundation in place, the actual framing of the structure can begin. Here’s a list of tools you are probably going to need:
- Circular saw – The hand-held, electric circular saw is a very versatile tool. Choose right or left handed saws.
- Framing hammer – Look for a hammer that has a waffle head, so the head of the hammer doesn’t slip off the nail. A framing hammer’s straight claw will come in handy when removing bent nails.
- Cordless drill with bit – You will need the drill for screwing pieces together and drilling holes. Choose a cordless model to avoid having the cord get in your way. The Dewalt DCD796 hammer drill is a good choice.
- Ladder – Choose a 6 to 8 foot ladder for tasks like installing trusses (and later, roofing).
- Pencils – Always keep a few around, as they will come in handy.
- Tape measure – As noted at the start, you’ll need a tape measure of adequate length.
- Speed (or triangle) square – This handy tool will let you quickly mark off straight 90-degree lines for cutting.
- Level (bubble level) – Look for a four foot level for most shed designs.
- Chalk line – This tool will help you quickly mark straight lines.
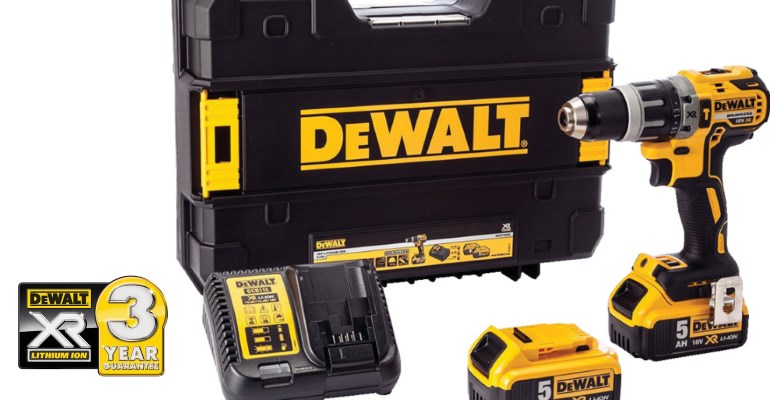
The DeWalt DCD796 Hammer drill
For framing, you might also consider some of the following, though they aren’t as essential:
- Saw horse – It’s much easier to cut at about a 30-inch height than to cut on the ground.
- Miter saw – While a circular saw is inexpensive and gets the job done, a miter saw and stand can make cutting quicker and more efficient than a circular saw. It also tends to be safer. It’s possible some cuts may still need to be made with a circular saw, however.
- Nail gun (pneumatic framing nailer) and air compressor – A nail gun will make framing go more quickly, though it is a bigger investment than the cost of a framing hammer. Unless you purchase a nail gun that doesn’t require a portable air compressor, you’ll need one with at least 2 CFM rating and 2 to 6 gallon tank capacity.
Roofing
- Utility knife – You’ll need this to cut shingles and roofing paper to size.
- Tin snips – These look like heavy-duty scissors and can be used to trim the drip edge and fascia so your shed has a more professional look.
Optionally, you may want to consider:
- Pneumatic roofing nailer. Like the framing nailer, a pneumatic roofing nailer can make the job go faster.
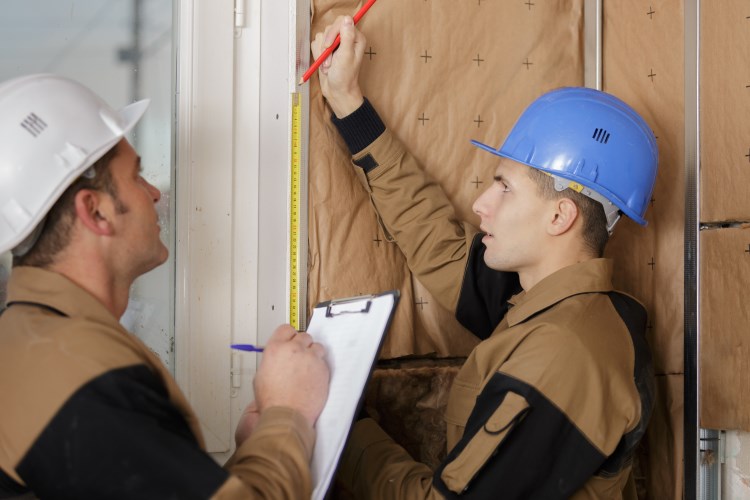
Measure twice, cut once…Ensure you have a good tape!
Finishing
- Finish hammer and nail set – Unlike your framing hammer, a finish hammer has a smooth hammerhead to avoid indentations in the wood. The nail set will enable you to hammer the finish nail flush to the surface, while keeping the hammerhead a safe distance away from the wood.
- Putty knife – Use the putty knife to install putty over the nail holes so they vanish after painting.
- Caulk gun – You’ll need this for caulking seams and joints.
If you want finishing to go more quickly, consider:
- Pneumatic finish nailer – Also known as a brad nailer, this nailer is for smaller nails that will leave less of a mark, perfect for installing trim.
Painting or staining
- Paint sprayer, roller with extension or brush – Which tool you choose all depends on the size of the project and how quickly you want to finish the job. Sprayers save a lot of hours, but they clog easily and the investment probably isn’t worth it except on large projects. A roller is a more economical alternative, but don’t forget the extension. You’ll want to get a paint brush for hard to reach corners and joints.