Spring and summer are the best time of year for home gardeners. It’s when you happily prepare flower beds, nurture seedlings for planting, gently tend the blooms and vegetables and spend hours enjoying the fresh air, reaping the fruits of your labour.
Fall and winter roll around, as they inevitably do, and it’s time to pack away your garden tools and bide your time for days to lengthen again.
It’s at this time that we must consider what to do with our tools which we have been using through the spring and summer. Where and how to store them safely until they are required for duty again the following spring.
Where Is The Best Place To Store Garden Tools?
You get to hibernate in the warmth indoors, so it’s only right that you afford your gardening equipment the same protection. Properly stored tools last longer than those left around willy-nilly outside, which have to face the hard elements of winter and can easily rust, split and warp.
Of course, you don’t only need to store your tools in winter. To ensure that your garden equipment lasts its guaranteed lifetime, and then some, you need to store them properly after every use. Leaving them outside in the sun can corrode tools, and the heat can make wooden handles split.
The best place to store your tools is somewhere dry, like your garage or a tool shed. Even in your garage or shed shelter you have an extra storage option: A tool chest or tool box.
 Garden Shed
When it comes to sheds, you can build from scratch, use prefabricated kits, or hire someone to make the shed for you. One of the great things about garden sheds is the sheer variety available.
You can build small sheds that store only your lawnmower and shovel and rake. You can also make a big shed that stores all your tools and even has space for a work desk. There are different materials you can use and different styles to choose; for example, you could build a shed that looks like a barn, a quaint cottage, a small hidey hole, thatch roof or wood cabin, to name a few.
Materials you can use include metal, vinyl, plastic and wood.
Related Post: 33 quintessentially quirky garden ideas.
Metal sheds are more secure than other materials, and they are also durable. They’re not for beginner builders, and even if you are an experienced DIY-er, it’s a good idea to get a professional to do the building for you.
That way you know that everything is done correctly, from placement in the shade to a weather-proof finish. Your pro can also paint your shed using the correct type of paint to suit the particular metal used, for example, aluminum or steel.
Vinyl sheds are pretty durable and recommended for areas that experience a lot of inclement weather. They also offer a high level of security, and double-wall panels provide insulation.
Plastic sheds are great for builders on a budget. They’re easy to assemble and disassemble so they can be transported if necessary. Plastic is light, so it needs to be in a well-sheltered part of your garden. It’s probably not best if you live in a high-wind zone.
When one thinks of sheds, one generally thinks of wood. Wood has several benefits, for example, different types of the wood suit different budgets and different needs. It bears up well in bad weather, especially if you add insulation, and provided it’s water-proofed and treated to be rot and pest-proof.
It’s best to build your wooden garden shed on a platform to protect your shed from damp and water. You can also use recycled, reclaimed and re-purposed wood to make your shed eco-friendly.
Tool Chest
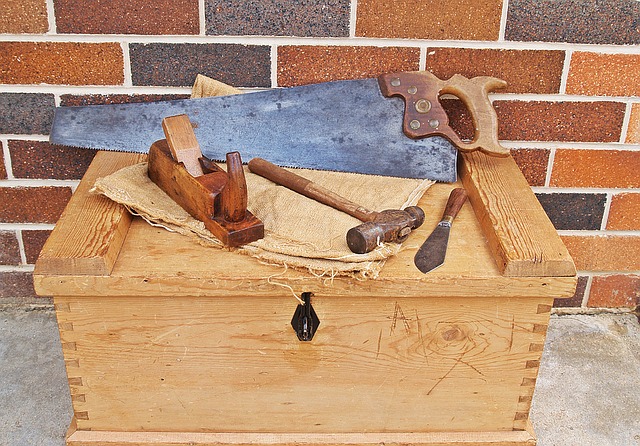
Tool chests are perfect for storing small and medium-sized tools. You can also get large chests that accommodate things like power tools. Tool chests are much bigger than ordinary toolboxes. They have some drawers that can be locked so that you can keep kiddies’ hands safely away from shears and other sharp objects, and some also have compartments for larger implements.
Aluminum and steel are commonly used because they’re durable and hard-wearing. Plastic is a light-weight option that is also durable but more affordable than metal. Your purpose will help determine the best tool chest for you. If all you want to do is potter around your garden and experiment with different trends, then plastic is your best bet.
How Best To Store Garden Implements
You’ve got your where, but what about the how?
First of all, you need to ensure that your tools are ready to be stored. It means they need to be properly cleaned and oiled to avoid rust and other deterioration. Get rid of any mud or dirt with some water and biodegradable soap. If the dirt is caked on, then soak the tools for about half an hour so that it comes off quickly.
Remove any rust spots; gentle scrubbing with steel wool ought to do the trick. Check out this little hack for cleaning rust away from your tools with vinegar:
Now it’s time to oil your tools. Use linseed oil on the blades and hinges of tools, such as shears. This keeps the hinges working smoothly and prevents rust. It also protects wooden handles. Sand is quite a good medium in which to store garden tools safely. The combination of oil and sand prevents rust.
Tidy Storage
Now is the time to tidy up your shed and organize the way in which you store tools.
Coil your hose pipes and store them on an old wheel rim so that they don’t clutter the floor, and unwind to trip you up.
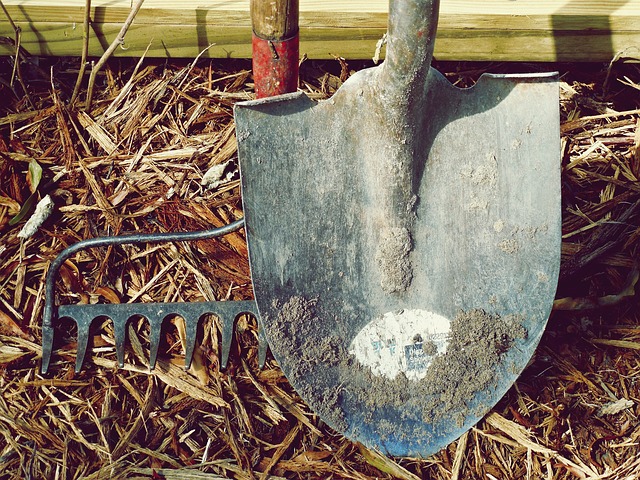
You can use wall space to hang up rakes, shovels, hoes and shears, etc. You can use your garage, seeing as how racks take up little space or your shed. You can buy ready-made tool racks or make them yourself. All you need is a wooden plank for shelving, some brackets, some screws and a drill.
You can use nails to hang tools. It’s recommended that you use something like stud wall instead of the actual wall of your garage or shed. It’s easier to drill, and it’s not permanent. A good tip is to draw an outline where each tool hangs. It helps you hang the tool in the right place, instead of slotting it any old where.
STUD WALL
“an interior wall consisting of a frame of upright timbers to which laths and plasterboard are attached.”
A really neat trick is to use jam jars to store nails, screws, bolts and drill bits, etc. Label them and line them up on a shelf or, save the shelf space for something else and glue the lids of the jars on the underside. Just unscrew the lid and root around in the jar for the items you want.
Note: You will have to use good strong, long-lasting glue and probably store just items which are not too heavy in these jars.
A quick note on power tools: Keep the cases they came in and always put them back after use. They are the best way to keep your tools safe.
There are plenty of places and ways to safely store garden tools, whether you’re just putting them away between projects, or you need to store implements over longer periods of time, such as winter. We’ve provided a few tricks of the trade to keep your tools well-organized and in good nick.


 Garden Shed
