Plastic soakaway crates are a very welcome modern invention which provide an alternative to the traditional soakaway of stone, gravel and other materials like hardcore being poured into the pit.
Inevitably these became useless over time as the soil and other small particles were liable to be pushed down into the stones when it rained.
Nowadays, the crates are the default product used by builders on pretty much all projects, and if installed correctly they provide a reliable and efficient way to tackle the issue of water management.
To make sure you get the best out of your plastic soakaway drains we have created this simple guide to installation.
The steps to do this are below, but we also found this helpful video which shows you in more detail what the crates look like and how to install them.
Are you prepared?
Plastic soakaways don’t do well in clay soil because water cannot drain through it, so make sure your soil is either sandy or loamy.
You’ll find lots of gardeners talking about this issue with draining on clay soils all over the internet.
They need to be positioned either on the same level as, or if at all possible in ground which is actually lower than the building, and at least 16-17 feet away from it to avoid damaging the foundations in the future.
Get the sizing right
No two sites are the same, so never take for granted that you know what size soakaways are needed without checking out things out first.
The size of soakaways you use will be determined by the depth they will be placed at – which in turn depends on the amount of traffic they will be exposed to.
You also need to know something about the foundation design and if there is any history of flooding. (If the soakaway you are dealing with is part of an extension project or a new build property it’s best to get a civil engineer involved in the design process, and the approval of the design by the local authorities.)

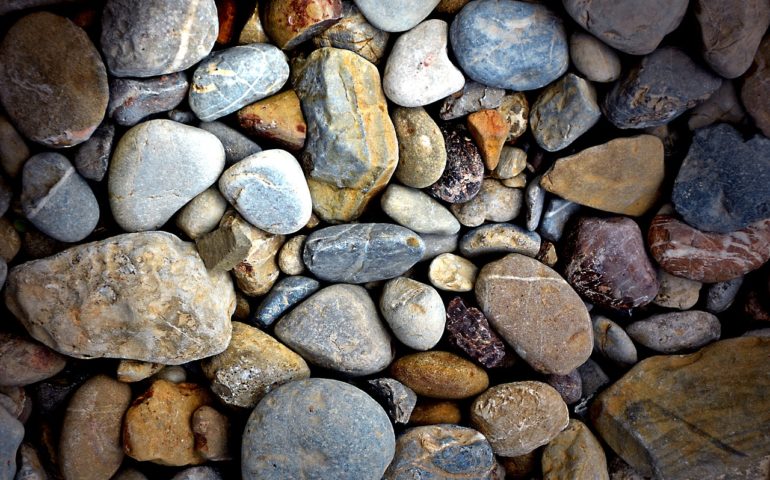
Large Gravel for Soakaway Crates
If your plan is to switch out a hardcore soakaway for a modular type you need around 36 cubic feet to properly drain a surface space measuring around 540 square feet.
It is important to check these points are all in order before beginning the installation, to avoid having to re-do things later.
As a general idea, crates which can bear around 20 tonnes are usually for use in private gardens or driveways, while 40-tonne loads are used when the traffic above them is heavier.
Stage 1 – Create the space
You need to dig a hole which is the right size for the crates plus the base, side and top fillers of sand and gravel. The necessary measurements can be discovered from the place you buy the crates from.
Stage 2 – Prepare the crates
You should get some ties or clips with the crates. These are used to connect the crates to avoid anything shifting while the filling materials are added.
You also need to cover the soakaway crates with a geotextile membrane (non-woven). This allows water to flow but prevents foreign bodies following, extending the lifespan of your crates.
Stage 3 – Prepare the hole
A layer of sharp sand, (to a level advised depending on the size of your crates), should be put into place first before the crates are lowered in. If you find it easier the membrane cover can be placed into the hole and the crates added afterwards then wrapped completely while in place.
Stage 4 – Connect to the drainage system
Some soakaway crates have a special section in place for the storm water pipe to be attached to. If this isn’t the case it can be positioned next to the crates and held in place by the filler. Either way, this also needs to be covered with the same membrane.
Stage 5 – Cover the crates
Backfill the hole so the crates are secured. This is best done using shingle or sand, which needs at least 6 inches to be placed around the sides as well as on the top of your crates, before (for gardens) at least another six inches of any soil which was removed to make space for the crates is added back on top and packed down to avoid it being uneven once the ground has settled.
In areas where the traffic is heavier then the soil layer should be at least 14-15 inches.
There are rules about how much filler your soakaway crates need on the top to allow for settlement, so check those out.
The final step is to replace any turf which was removed, or any other relevant surface topping, and the job is done.